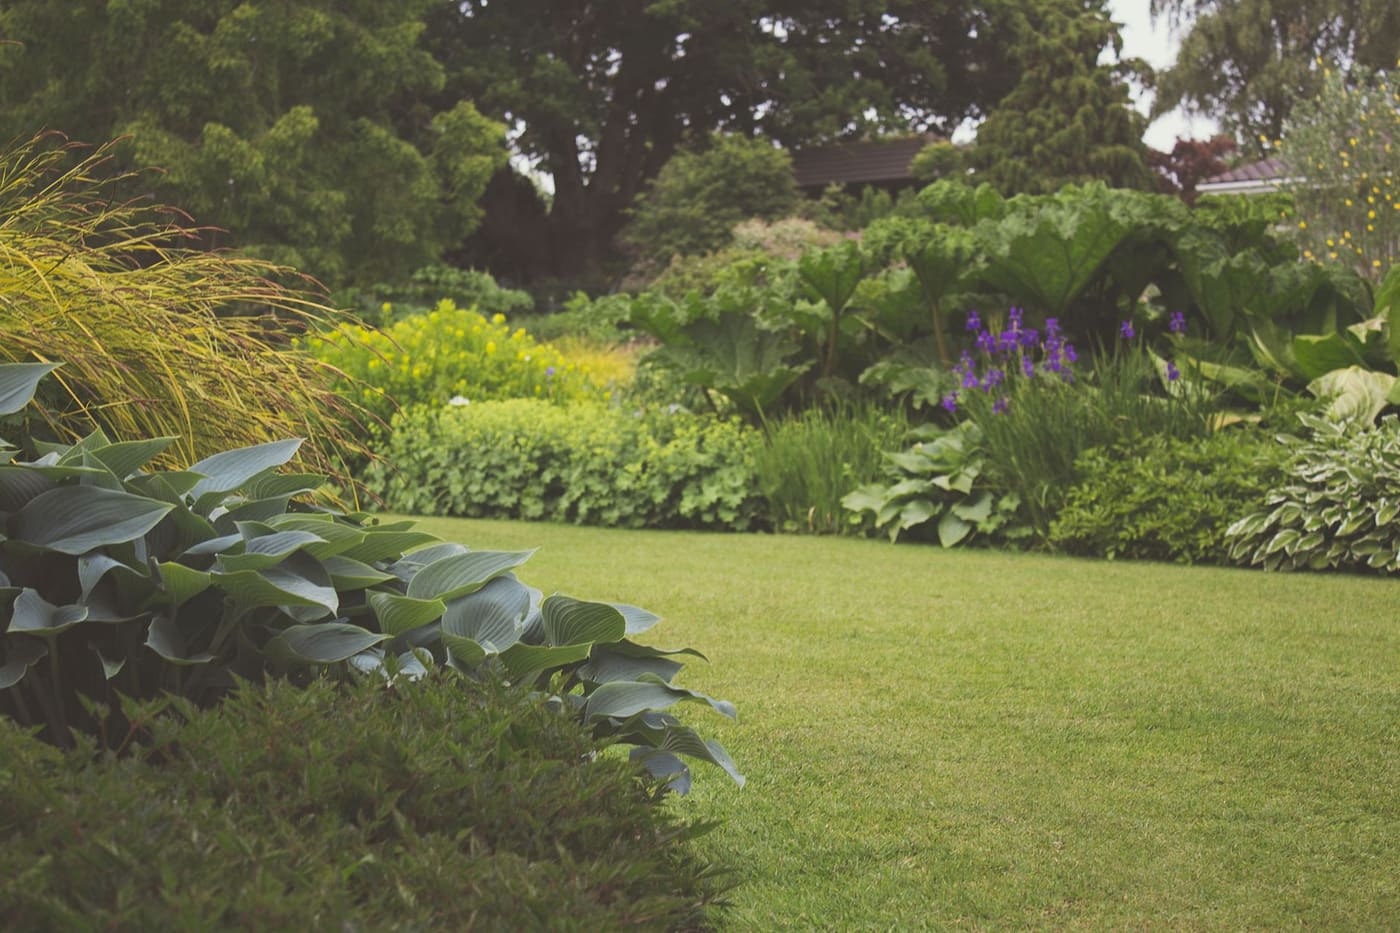
Plan a yard by working from use to layout: list what the space must do, measure and map what is already there, divide the yard into zones for those uses, connect the zones with clear paths, and only then choose plants and materials. A yard that is planned this way works better because every feature has a reason to be where it is, and nothing blocks the routes you walk every day.
Most yards that disappoint were built in pieces, with a patio here and a bed there, without a plan tying them together. The process below takes a weekend of observation and sketching. It costs almost nothing, and it prevents expensive mistakes like a patio in permanent shade or a path that no one uses.
Define what the yard has to do
Start with a list, not a picture. Write down every use you want, then mark each one as essential, nice to have, or optional. Typical uses include:
- Outdoor dining and grilling
- Lounging or a conversation area
- Play space for children or a dog run
- Vegetable and herb growing
- Storage for tools, bins, and bikes
- Entry approach and curb appeal
- Privacy and screening
- Wildlife, pollinator, or flower beds
Consider who uses the space and when. A yard used mostly in the evening needs lighting and low-glare surfaces, while one used by young children needs clear sight lines from a kitchen window. Budget also belongs on this list. A realistic overall budget decides whether phases are needed. Many people break a yard into three phases over two or three years, doing the structure and drainage first and planting later.
Map what is already there
Measure the property and draw it to scale on graph paper, commonly 1 square equals 1 foot or 1/4 inch equals 1 foot. Include:
- The house footprint, doors, windows, and the height of the walls.
- Property lines, fences, and any easements. Your plat or survey shows these, and you can often get a copy from your county records office or closing documents.
- Existing trees, large shrubs, and anything you intend to keep.
- Utilities, including meters, cleanouts, hose bibs, air conditioner pads, and any underground lines. In the US, call 811 before any digging. The service is free, and the required notice is set by state law, often two or three working days, so call a few days ahead and confirm your state’s rule.
- Slopes and drainage direction. Note where water pools after rain and where downspouts empty.
- Sun and shade at different times of day.
Take photos from the main windows and from the places you would sit. A common surprise is that the best view from inside the house is not where you planned the seating area. A mapped base plan is also the document you give any contractor so quotes are comparable.
Divide the yard into zones
A zone is an area with a single main purpose. Placing them well is the heart of a yard plan. A few placement rules work in most yards:
- Put high-traffic uses close to the house. Dining, grilling, and the main seating belong near the kitchen door, since people use what is easy to reach.
- Put messy or utility zones out of the main view. Compost, bins, tools, and a vegetable garden can sit toward the side or back, screened by plants or a small fence.
- Match zones to sun. Vegetables want at least 6 to 8 hours of direct sun. A shade-loving seating area can sit under a tree. Do not put a patio where it will bake at 4 p.m. with no shade unless you plan to add it.
- Keep play areas visible. Place them where an adult can see from a window or the main seating area.
- Keep service access. Leave at least 3 feet clear along one side for moving a mower or bins.
Use simple bubble diagrams on tracing paper over your base plan. Draw circles for each zone at roughly the right size and move them around until the relationships make sense. Common sizes are around 10 by 10 feet for a small table for four, and about 12 by 16 feet for a dining area for six with room around the chairs.
Plan circulation before you plan beauty
Circulation is how people move between zones, and it is where many yards go wrong. Draw arrows for each daily trip: door to grill, door to bins, gate to door, door to play area. Where arrows overlap or cross a bed, a path is needed. Where people already cut across the lawn, you can see a desire line in the worn grass, and it is usually wiser to pave that route than to fight it.
Working widths:
| Path type | Suggested width |
|---|---|
| Main route from driveway or gate to door | 4 feet or more |
| Secondary garden path | 2 to 3 feet |
| Path for a wheelbarrow | At least 3 feet |
| Stepping stones | Spaced 24 to 26 inches center to center, a comfortable stride for most adults |
Mark steps and slope changes clearly, and keep surfaces slip-resistant. In many places, accessible routes and changes in elevation have code requirements. If a path is also an entry to the home, check local rules for lighting and width.
Fix drainage and structure first
Water causes the largest and most expensive landscaping problems, so sort it out before decorating. Soil near the house should slope away from the foundation. Model building codes commonly call for about 6 inches of fall over the first 10 feet where space allows, but local codes and site conditions vary, so confirm with your building department.

Be careful with grading. Large changes in grade, retaining walls over about 3 to 4 feet (the threshold varies by jurisdiction), and any work near the foundation or a neighbor’s property deserve a licensed landscape contractor or engineer, since a failed wall or misdirected drainage can damage your house or someone else’s. Permits are often needed for walls above a certain height, decks, fences above a certain height, and some electrical or gas work. Check with your local building department before starting. Never dig without first having utilities marked.
Add structure, then materials, then plants
The order of installation matters because heavy work damages finished planting.
- Grading and drainage.
- Utilities and irrigation lines. Gas and high-voltage electrical lines, such as for a hot tub or permanent lighting circuits, should be handled by licensed professionals.
- Hardscape. Patios, paths, walls, and edging. See which hardscaping projects help a yard most for the highest-value options.
- Trees and large shrubs.
- Smaller shrubs, perennials, and groundcover.
- Mulch, lighting finishes, and furnishings.
Plant choice comes after the structure because it depends on sun, soil, spacing, and your hardiness zone and local climate. Use the guidance in choosing plants that actually fit your yard to match species to each zone, and set plant spacing by mature size.
Think about upkeep during design
The plan should include the chores it creates. A big lawn means weekly mowing. A complicated bed edge means hand trimming. Annual beds need replanting each year. Look at your plan and ask which features will be a burden. Cutting these before they are built is far easier than removing them later. The article on keeping a yard looking good with less maintenance lists specific ways to reduce upkeep through design.
Plan simple, mower-friendly shapes. Wide, gentle curves are easier than tight scallops. Group plants with similar water needs into the same irrigation zone. Leave room for a hose reel, a water source near beds, and storage for tools.
Test, phase, and budget
Before building, test your plan at full size. Lay out hoses or marking paint to show the patio outline, path, and bed edges. Put out the furniture you plan to use, or boxes of the same size, and walk it. Check it at different times of day. Adjust until the space feels comfortable, since moving a hose costs nothing and moving a patio costs thousands.
Rough budget planning helps with phases. Beds and mulch are the cheapest projects, a patio costs more depending on materials, and a full landscape with hardscape can be a major expense, with prices that vary a great deal by region. Get at least three written quotes for larger jobs, confirm the contractor is licensed and insured where required, and ask about permits.
To go through the planning steps in order, use the yard plan checklist.
Where this comes from
This guide draws on the national 811 call-before-you-dig program, model building-code practice for foundation drainage and permit thresholds (as summarized by local building departments), and common residential landscape-design rules of thumb for zoning, path widths and furniture clearances. The widths and sizes given are starting points, not requirements. Prices, notice periods and permit thresholds change and differ by location, so check them with your state 811 center, building department and local contractors.